123FormBuilder Knowledge Base
Search our documentation platform for answers, service specifications and 3rd-party integrations.
123FormBuilder and FreshBooks Integration
Use the 123FormBuilder – FreshBooks integration to create invoices or estimates in your FreshBooks account upon form submissions.
Setting up your FreshBooks integration
1. Click New Form from your account dashboard and start creating your payment form.
You can use choice fields (single/multiple choice and dropdown lists) to display the products on sale or, even better, Product field.
It’s required that you associate form fields with the First Name, Last Name, and Email address Freshbooks fields. Therefore, add the fields Name and Email to your order form. Make sure to set them as required.
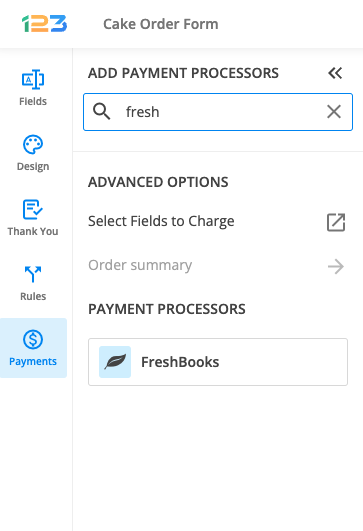
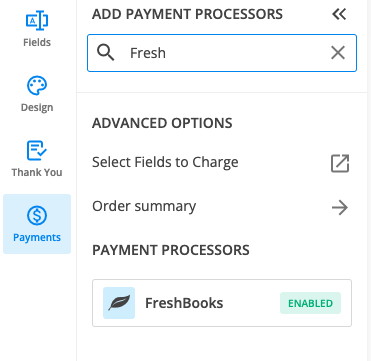
2. In your Form Editor, in the left side panel, you will notice the Payments section. By using the search bar, you can quickly find FreshBooks.
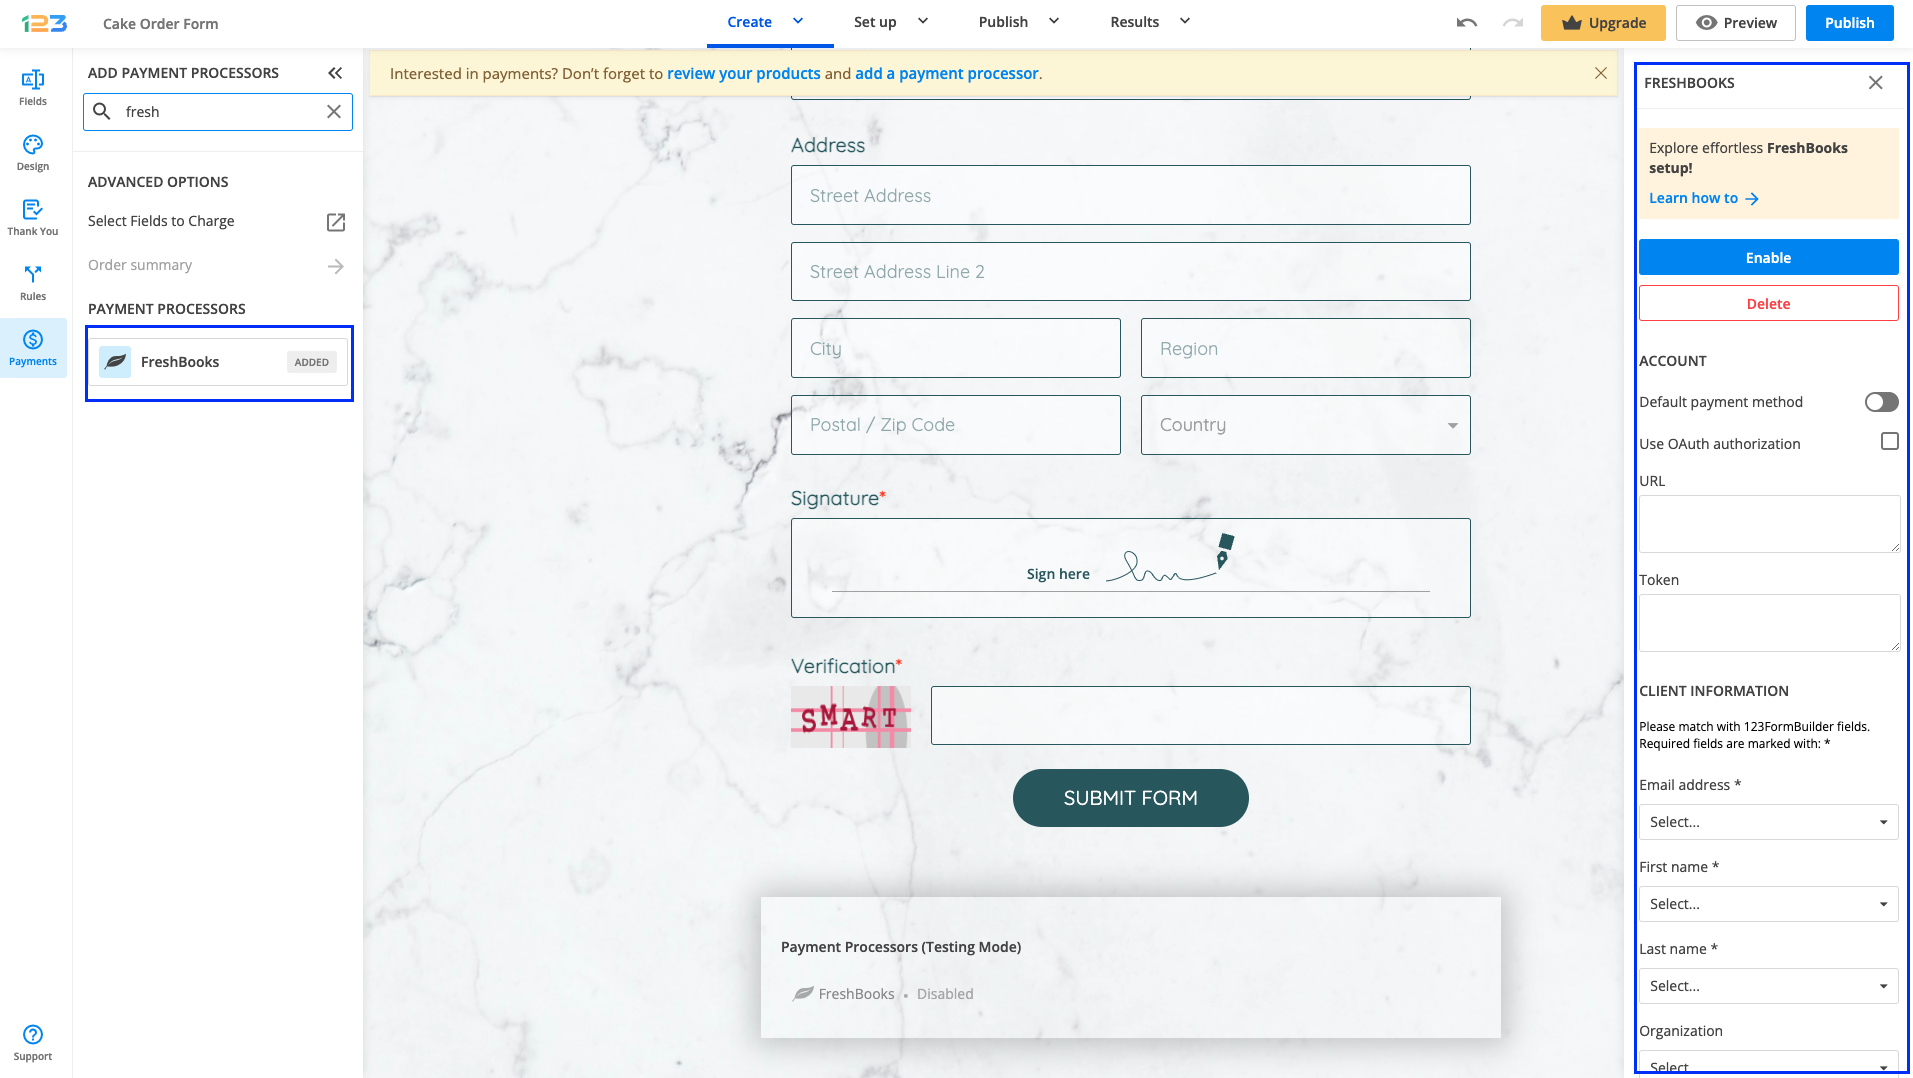
3. After adding FreshBooks on your form, you will notice a couple of changes: the Freshbooks payment processor has a tag near its name & the settings panel opens up to the right side of the page.
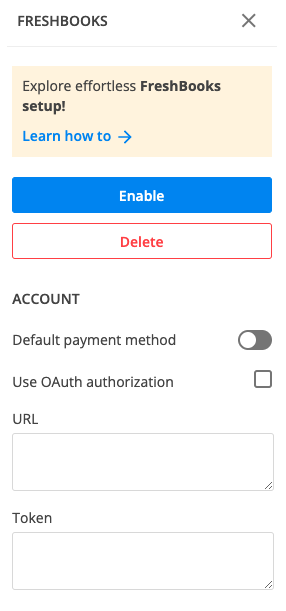
4. In order to set up the FreshBooks integration, you have to provide the necessary credentials of your FreshBooks account, as follows:
– Add the URL of your FreshBooks account, followed by the expression api/2.1/xml-in (e.g. https://www.youraccount.freshbook.com/api/2.1/xml-in).
– Provide the Token key of your account. To access your Token, log into your FreshBooks account, and go to the My Account → FreshBooks API section. Copy the code from Authentication Token and paste it in the FreshBooks merchant box back on 123FormBuilder.
Another way to connect the application to your FreshBooks account, especially if you are already logged on to FreshBooks in the same browser, is by checking the Use OAuth authorization option.
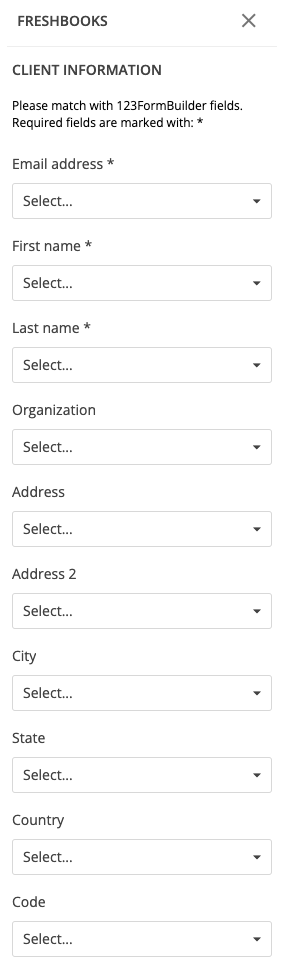
Under Client Information, match the required fields and any other fields you need.
Check the Update client if email exists option if you want to update invoices/estimates that contain the same email address.

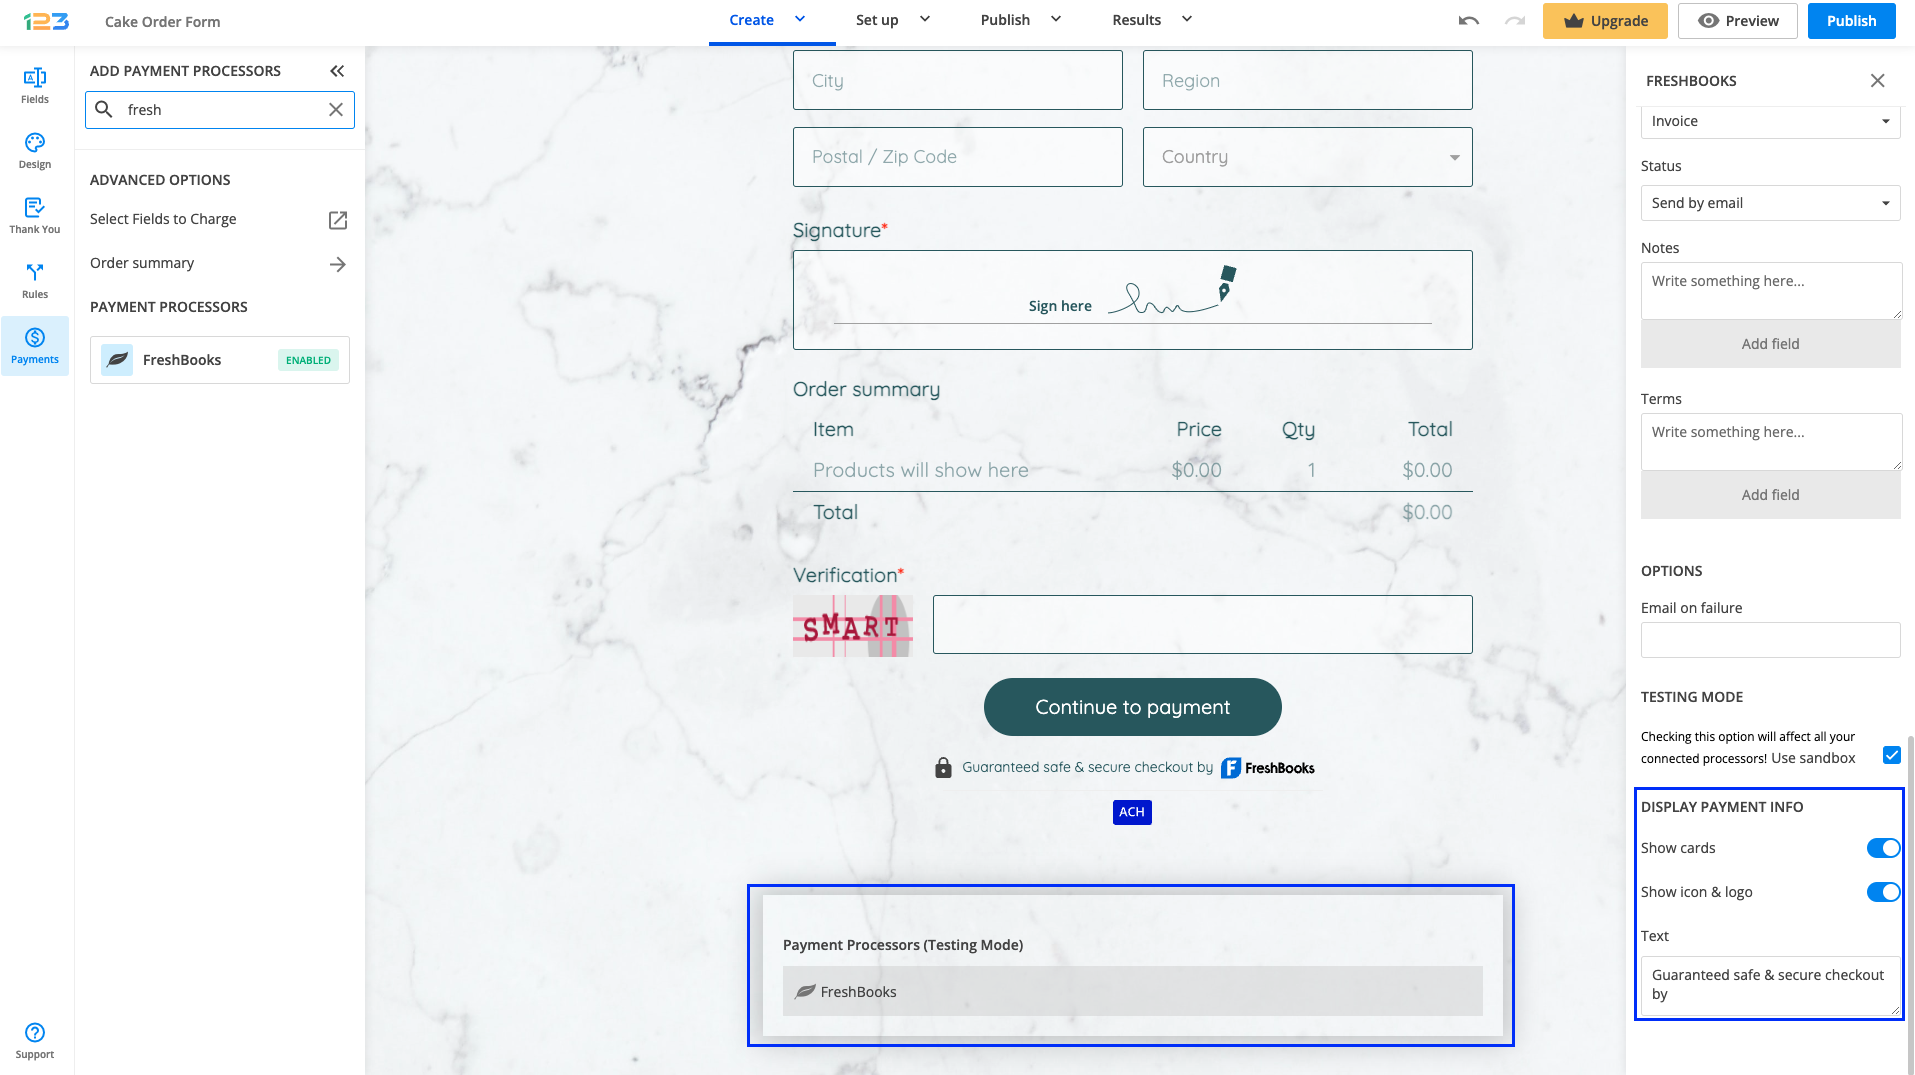
You can also customize and set different options in the Invoice/Estimate section.
- Create – Invoice or Estimate.
- Status – Send by email or Send as a draft.
- Below Notes and Terms, you have the possibility to add field variables from the form.
Where it says Email on failure, type your email address so you can be informed of any errors that might occur upon submission. You can change the email address at any time in this section.
To test your 123FormBuilder – Freshbooks integration, you’ll need to tick the Use sandbox checkbox.
Important: Whatever currency you’ve set up in the Payment Summary panel, it must be equivalent to your settings in your FreshBooks account, as the integration doesn’t change currencies.
5. Enable the payment integration by clicking on Enable button. By enabling FreshBooks, you will notice a couple of changes on your form.
The FreshBooks payment processor on the left side panel has an Enabled tag on it so you could easily scan which payment processor is enabled.
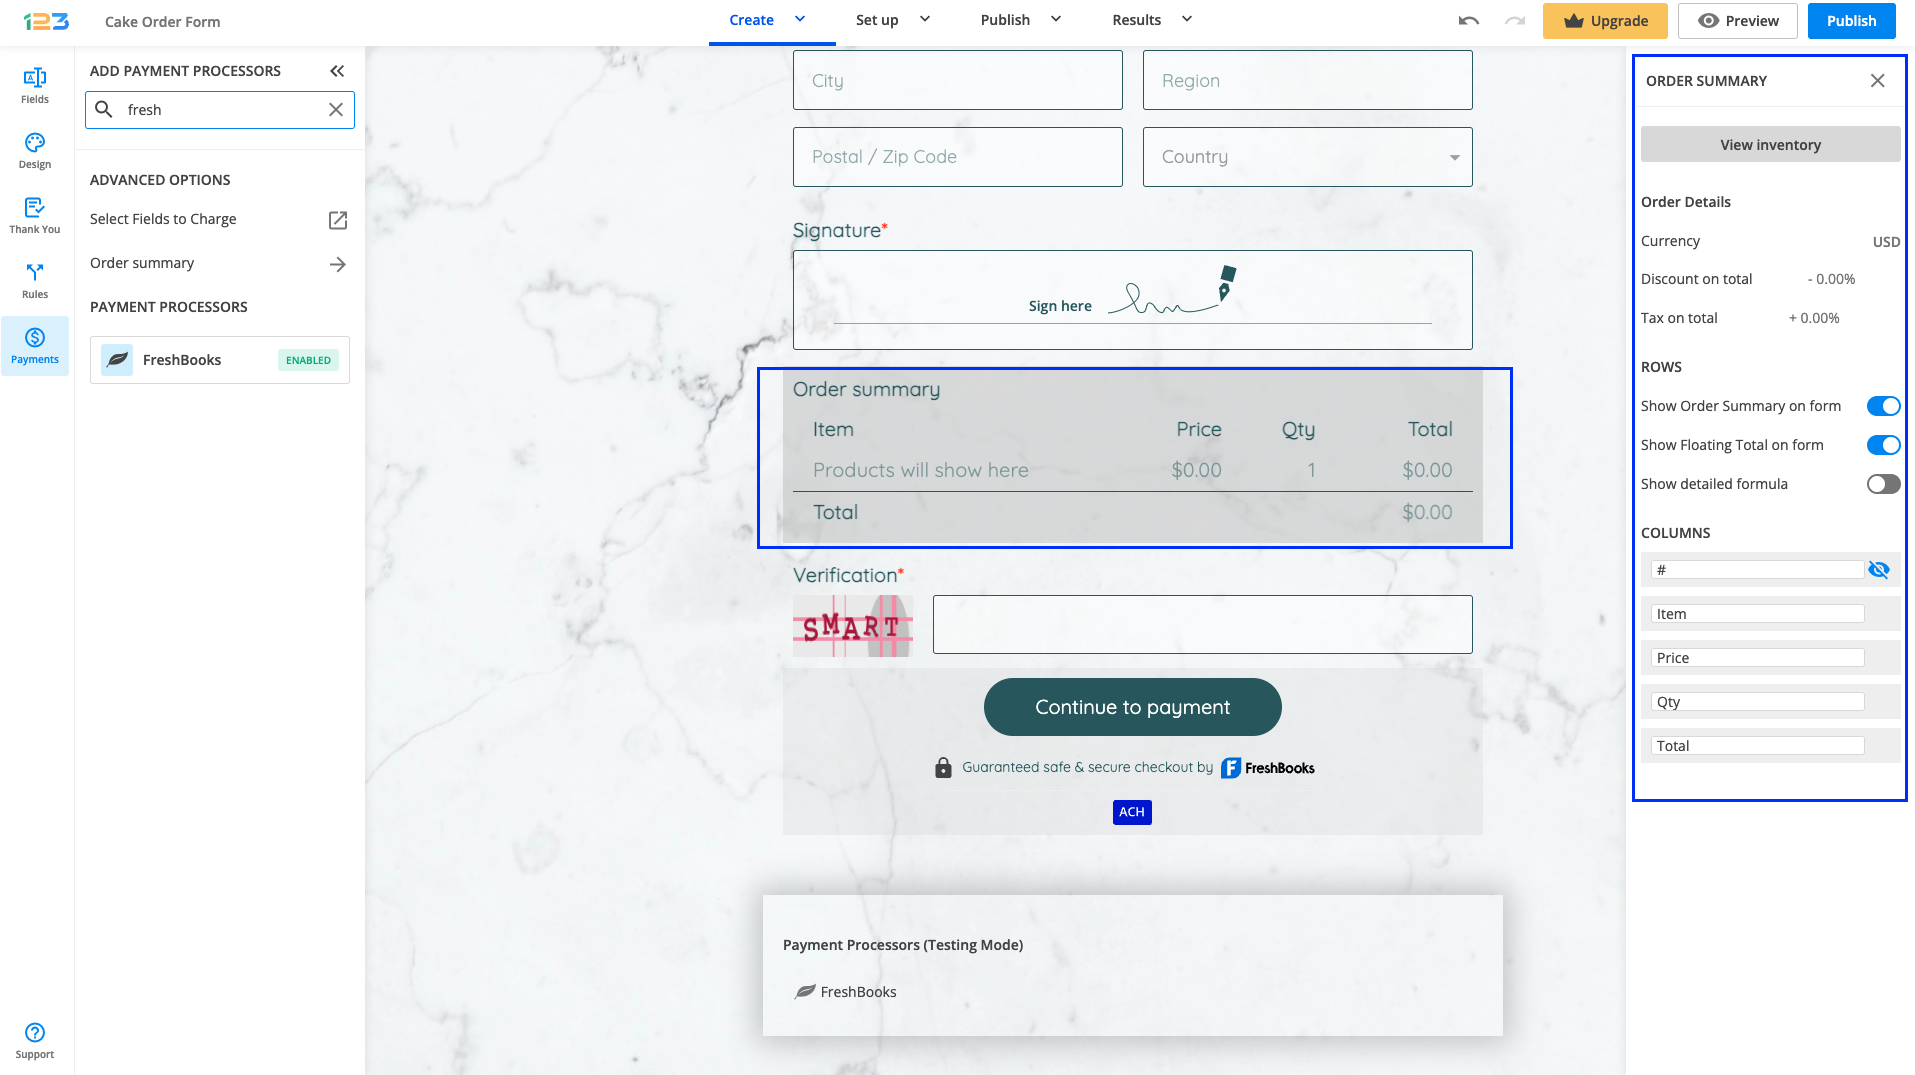
Another change is that on your form it will be displayed an Order summary. Here will appear all the products your respondents select on the form, together with the price per option, quantity and the total price. If you want to customize the order summary, all you have to do is click on it and the available settings appear on the right side panel.
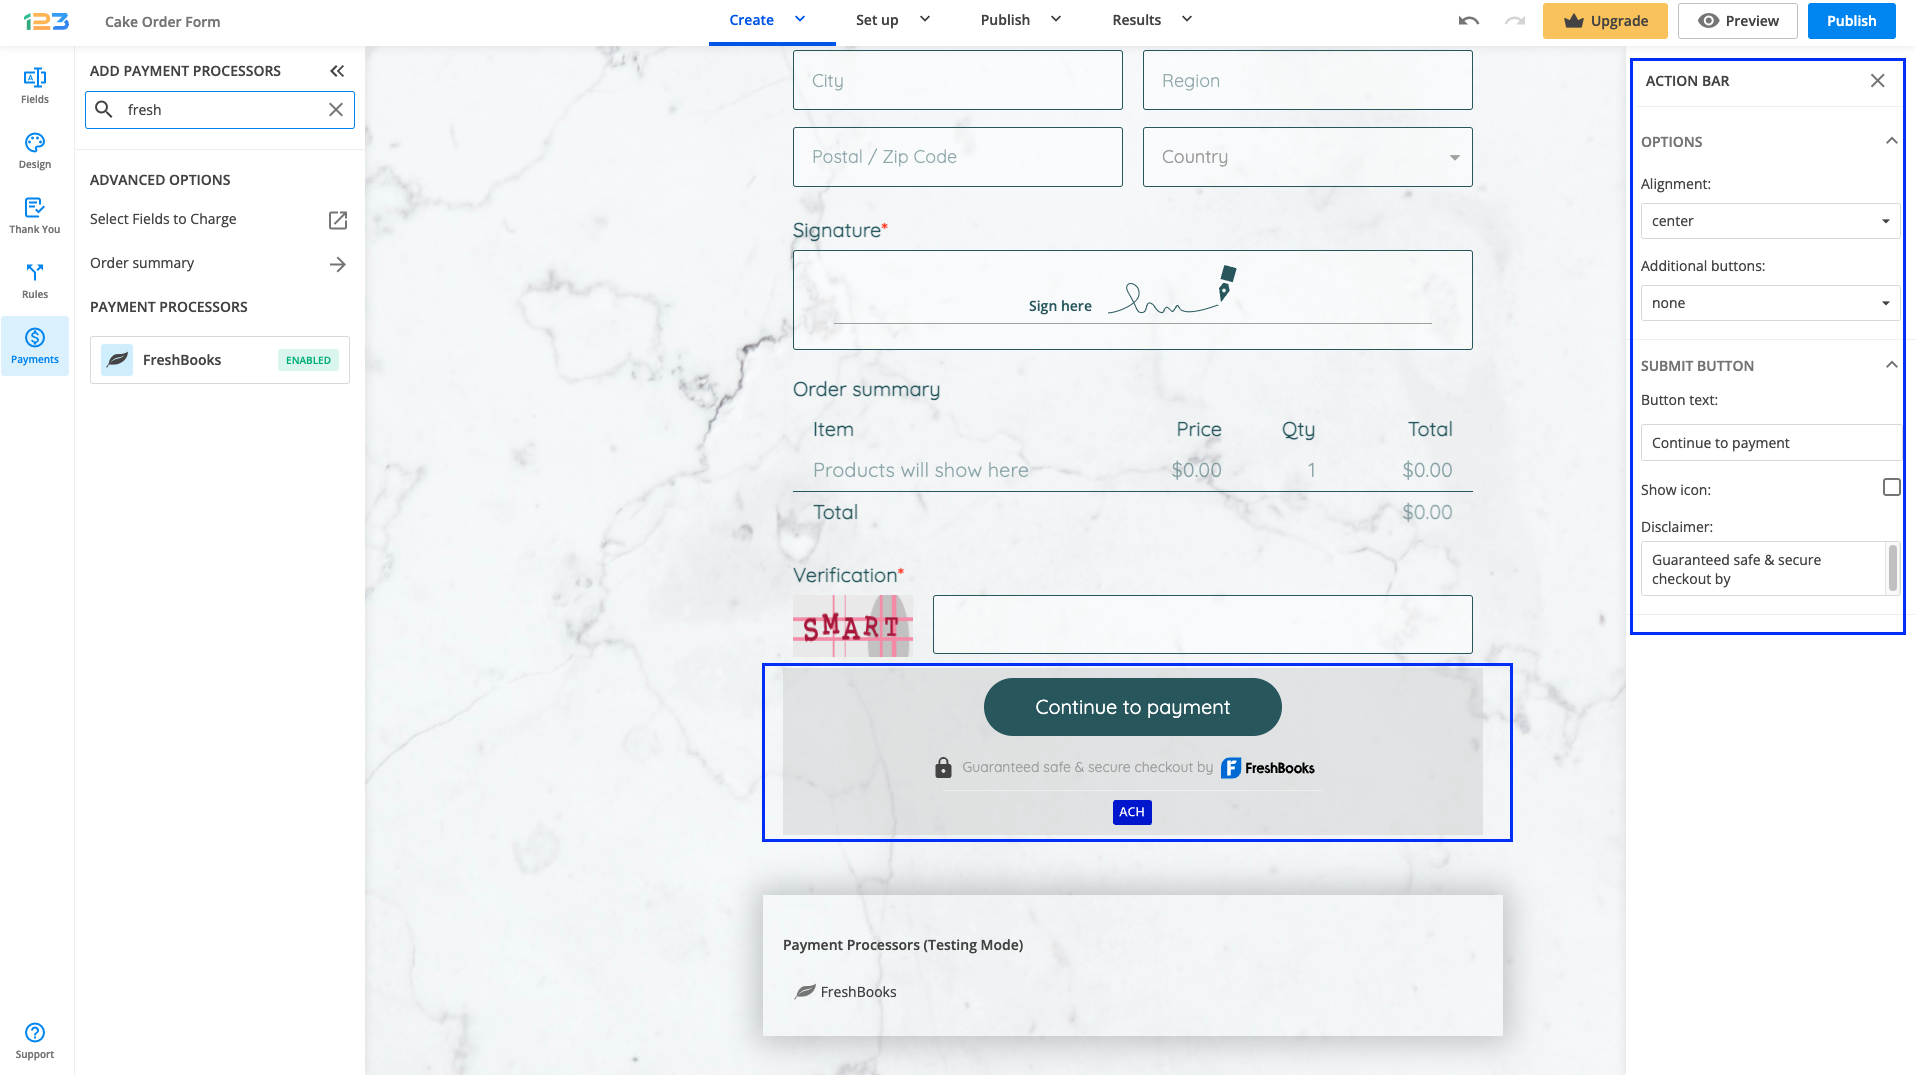
Another change is related to the Submit button. Once your payment integration is enabled, the Submit button is changed to Continue to payment. Below it, we are displaying a disclaimer together with the Freshbooks logo so that respondents are aware they are proceeding to a payment.
You can customize the action bar (everything that is related to the submit button, additional buttons, disclaimer, etc) by simply clicking on this area.
Another setting that you can enable/disable is related to showing the accepted cards and the icon & logo of the payment processor. By default, both of them are enabled, but you can disable them and even edit the text shown under the Continue to payment button.
Similar Articles
Frequently Asked Questions
Here is a list of the most frequently asked questions. For more FAQs, please browse through the FAQs page.